
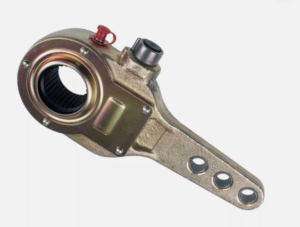
How Much Free Play Should You Expect in a Slack Adjuster? Maximize Performance!
The ideal amount of free play in a slack adjuster...
Read More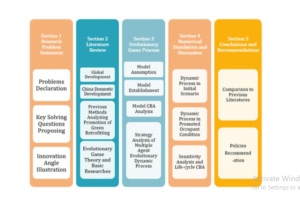
Revolutionary Evolution: Historical Development of the Automatic Slack Adjuster
The automatic slack adjuster (ASA) has developed over time to...
Read More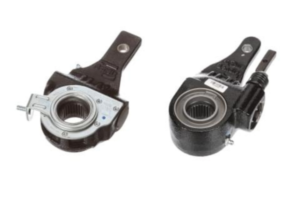
Custom Solutions for Automatic Slack Adjuster Systems: Boost Safety & Efficiency
Custom Solutions for Automatic Slack Adjuster Systems enhance braking consistency...
Read More
Automatic Slack Adjuster Warranty And Repair Information: Quick Guide
Automatic Slack Adjusters come with various warranty conditions, which typically...
Read More